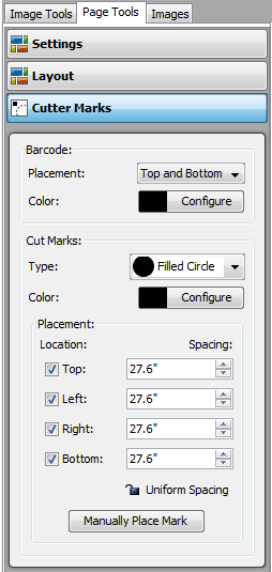
The [Cut Marks] option allows you to manually place your Cut Marks and customize their appearance. [Cut Marks] are used to tell your cutter where to cut your image.
You can manually place Cut Marks anywhere on your media by clicking [Manually Place Mark] button. This places a cut mark in the upper-left corner of your image that you can click and drag to a new location.
You can set the following options for Cut Marks:
- Type — This allows you to choose what type of mark you would like to place. You can choose from a [Filled Circle], or [Open Circle].
- Color —This allows you to set a color you desire. Select [Configure] and create your color using each color slider.
- Placement — This allows you to set the location and spacing of your Cut Marks. You can choose to place marks on the Left, Right, Top, and Bottom of your media. [Spacing] options determine the distance between each mark, not the distance from the edge of your media. Click [Uniform Spacing ] to set all your Cut Marks with the same spacing.
 Barcode
